3 ways to quickly receive large files from your team and clients
Digital Pigeon
14 April 2020As a creative business you will more than likely be receiving hundreds of files every day with different formats and genres. There are 3 key things to think about when developing a remote working process for receiving large files from your clients; any touch point with your business is a branding opportunity, tagging is a must for file management, and simplifying your workflow is always a good thing.
To help support these things Digital Pigeon has 3 methods for receiving any file type quickly, depending on what you’re doing:
- Create a personalised receive link to one of your existing account pages,
- Design a custom branded upload page, or
- Embed a widget for your website.
- With all of our options there is no requirement for the sender to have Digital Pigeon account, just click, select, and send.
Creating a personalised receive link
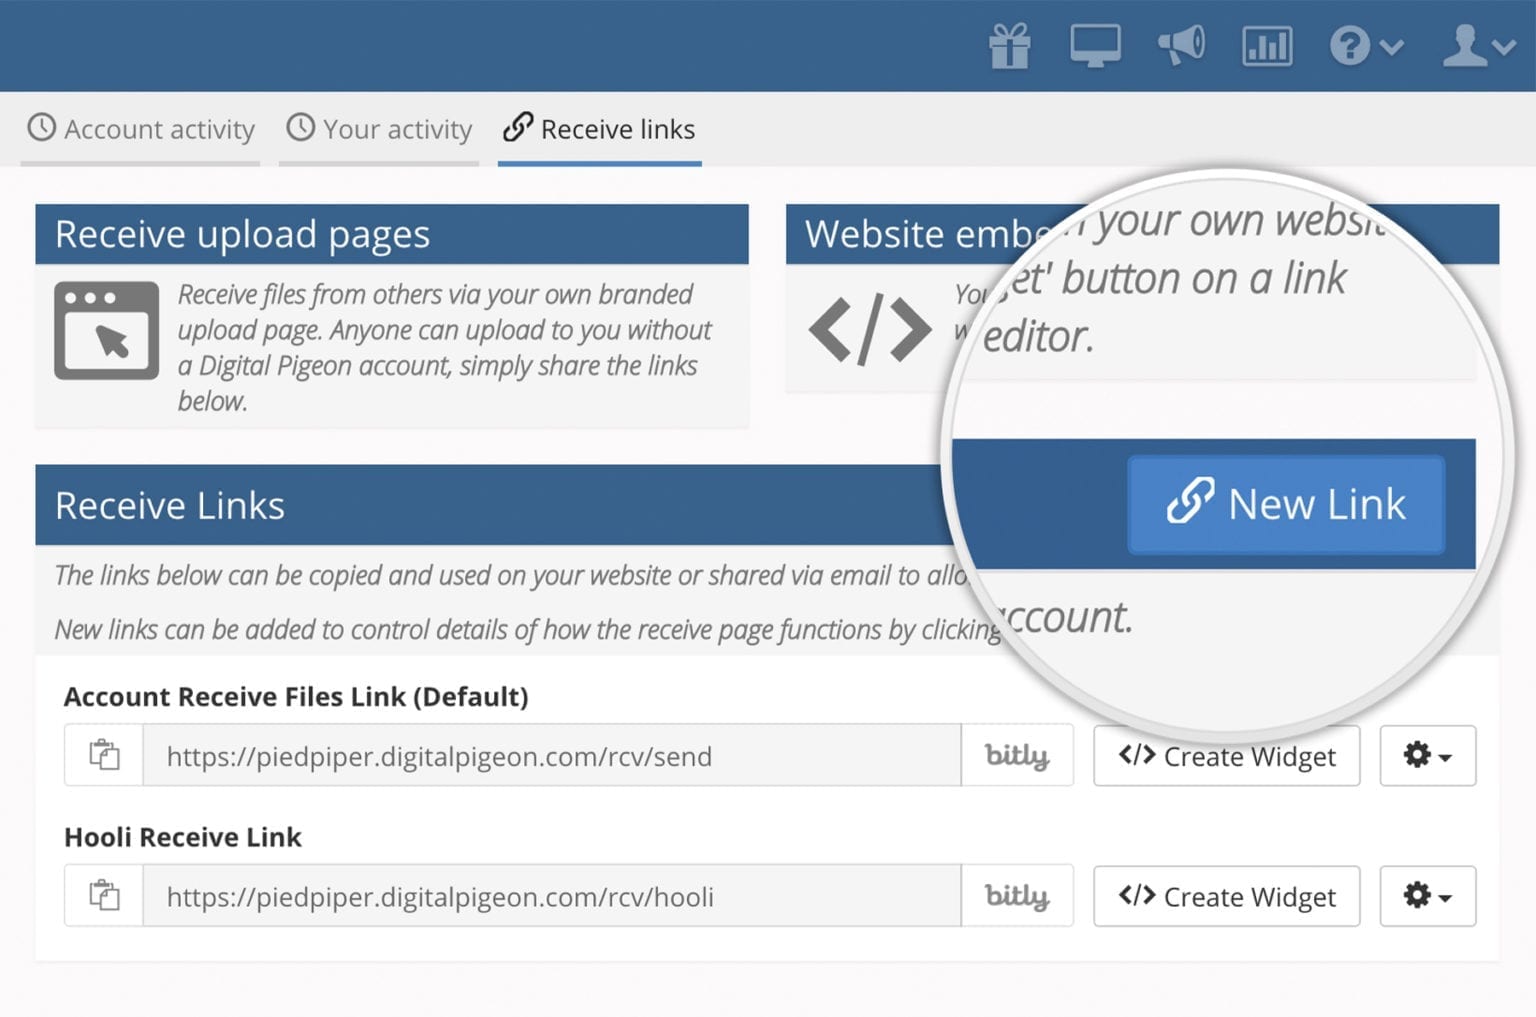
An easy way to receive files, is to create personalised receive links with a default upload page. This is great for project teams to just add a project name to the URL for everyone to add files to. Especially if you have a lot of contractors, or consultants that don’t have access to your in-house tools.

Once you’ve created the link, you can set up the following options:
- You can even assign uploads to an individual user in your team.
- Automatically tag your uploads as they come in.
- Set up an email confirmation for the sender on success upload.
Then just add the link to a client portal, in an email signature, or project management tools, like Asana and Trello that may also have shared boards.
Design a custom branded upload page
For receiving files from clients you can create a personalised receive link, along with a custom branded upload page for a seamless customer service experience.

With the Digital Pigeon intuitive branding editor you can:
- Choose your own colour scheme
- Select your choice of font
- Add a logo with placement options
- Use a background image/photo
- Choose detailed options or stick to something minimal
- Set default preview options.
If your production studio is receiving audition videos from applicants, you can set-up individual upload pages for each show, and then create personalised receive links for each role.
Embed a widget on your website
The third option is to integrate a widget on your website as a pop up or directly within the page itself. One of the huge advantages of the 'embed' option is that you can customise the form and pre-populate fields - helping systemise your business processes. Most of our clients create a link in the menu bar or footer on their website that says 'upload files'.

This is also a great option for receiving competition entries. You can set up specific links to only go to particular judges, or tag geographic regions so that you can easily filter your applications. You can even automatically email entrants to notify them that the upload is successful. Once the competition ends, you can remove the receive link to ensure applications end.
Get the fastest upload speeds possible
There are some scenarios when you need a particular file, and you need it NOW. We literally match your sender's location with the upload server that's closest to them. This means there’s less distance for the files to travel, which significantly reduces problems and ensure the files get to your inbox – ASAP.
Bonus Pigeon to Pigeon sharing!
If a sender also uses Digital Pigeon you can use Pigeon-to-Pigeon sharing. A message in Blue will appear indicating if this option is available and the Pigeon-to-Pigeon Sending icon will also appear in your Receive list.
Now more than ever you need to be able to receive files from anyone no matter the file type or size. You want it to be easy for them to send, and easy for you to manage when you get it.
Don’t forget we have a free 14 day trial for you to try out the different options. Plus if you need a hand getting set up we would love to help so just reach out at any time.


